Cómo actualizar la memoria de tu ordenador
See how to perform a computer memory upgrade in ten easy steps.
Adding memory (RAM) to your desktop computer can instantly make your computer faster, increase system responsiveness, and make multitasking seamless. Installation is a quick process that’s done in just ten steps and the benefits are instant.
Looking to install memory in a laptop instead? Use our guide to laptop memory installation.
Precautions before installation
Static electricity can damage the components in your system. To protect your system’s components from static damage during the installation process, touch any of the unpainted metal surfaces on your computer’s frame or wear an ESD wrist strap before touching or handling internal components. Either method will safely discharge static electricity that’s naturally present in your body.
To protect your memory module, avoid touching the gold pins or components (chips). It’s best to hold the module by the top or side edges.
Desktop memory installation instructions
Installing memory can be done in a matter of minutes, but there’s no need to feel rushed. Work at your own pace and consult this guide or the video as often as you need to!
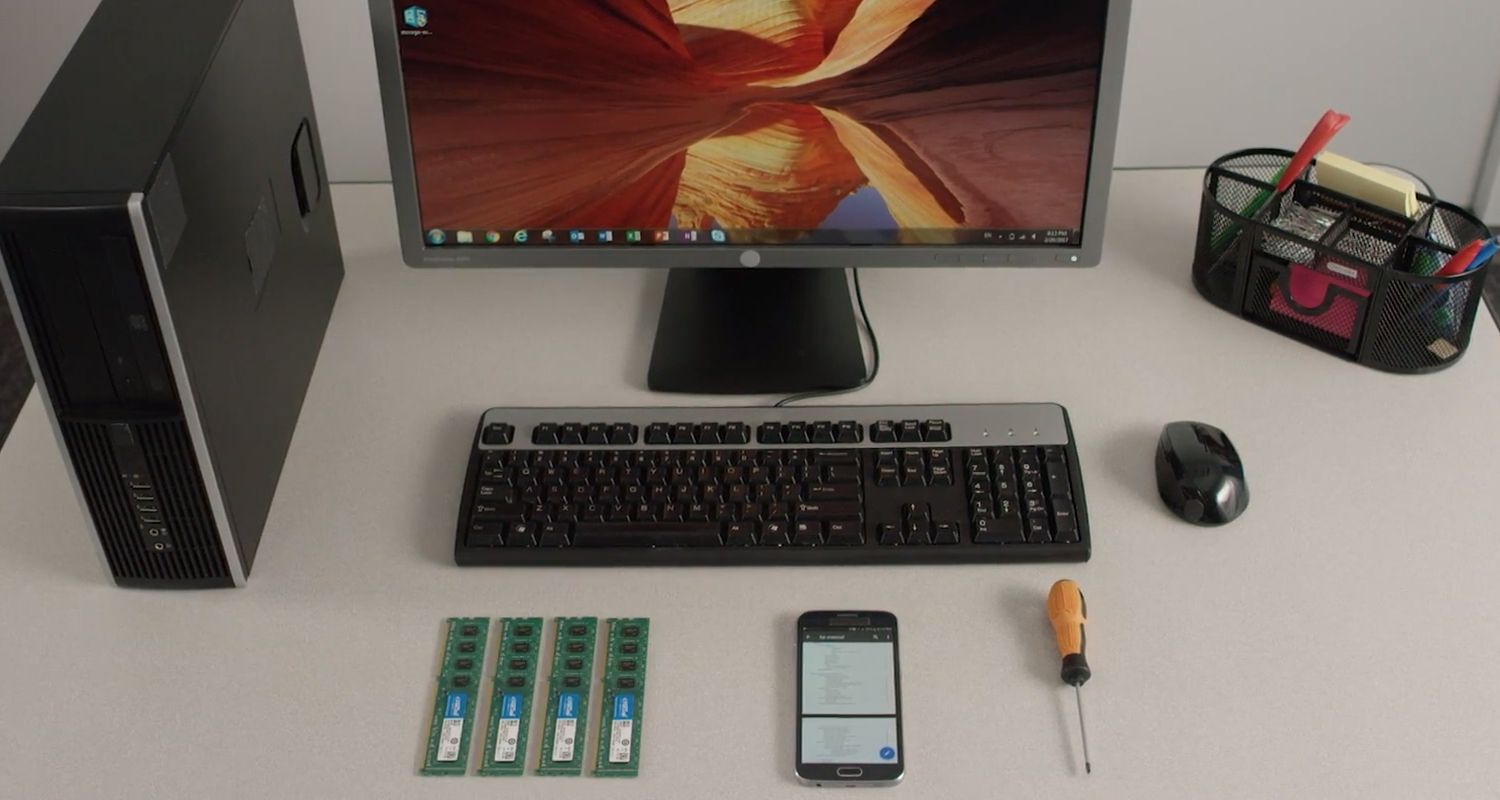
1. Gather supplies
Clear off your installation space and make sure you’re working in a static-safe environment. Remove any plastic bags or papers from your workspace. Then, you’ll need the following items:
- Your desktop computer
- Crucial® desktop memory
- Screwdriver
- Owner’s manual
2. Shut down your desktop computer
Because your files, documents, and data are on your storage drive, not your Random Access Memory (RAM), they remain unaffected during this process.
3. Unplug the power cable
4. Hold the power button for 5 seconds
This discharges any residual electricity still in the system.
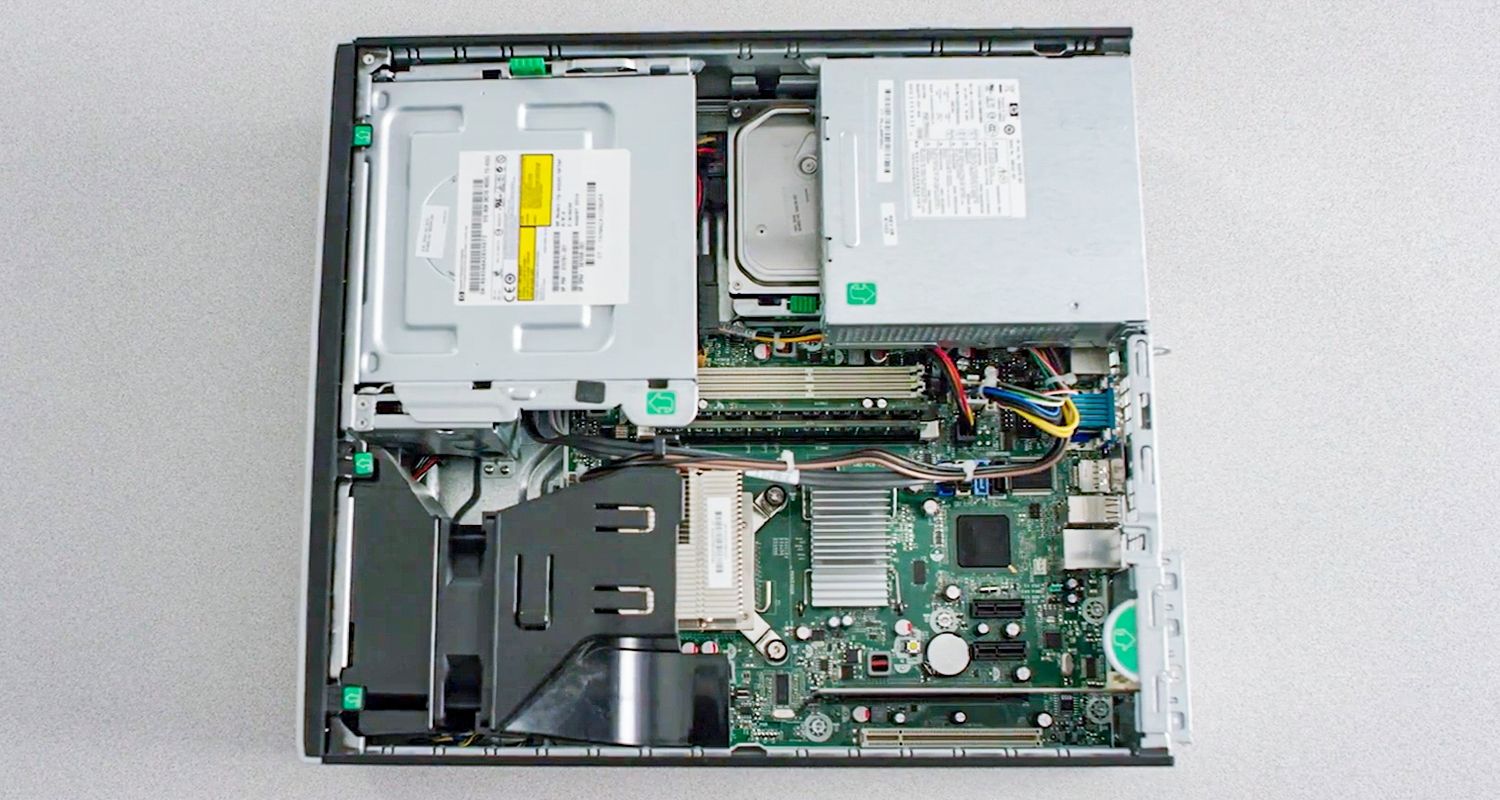
5. Open the case
For instructions about opening your specific system, consult its owner’s manual. You can also take pictures as you work through the process to see where cables or screws are attached to make it easier to put back together.
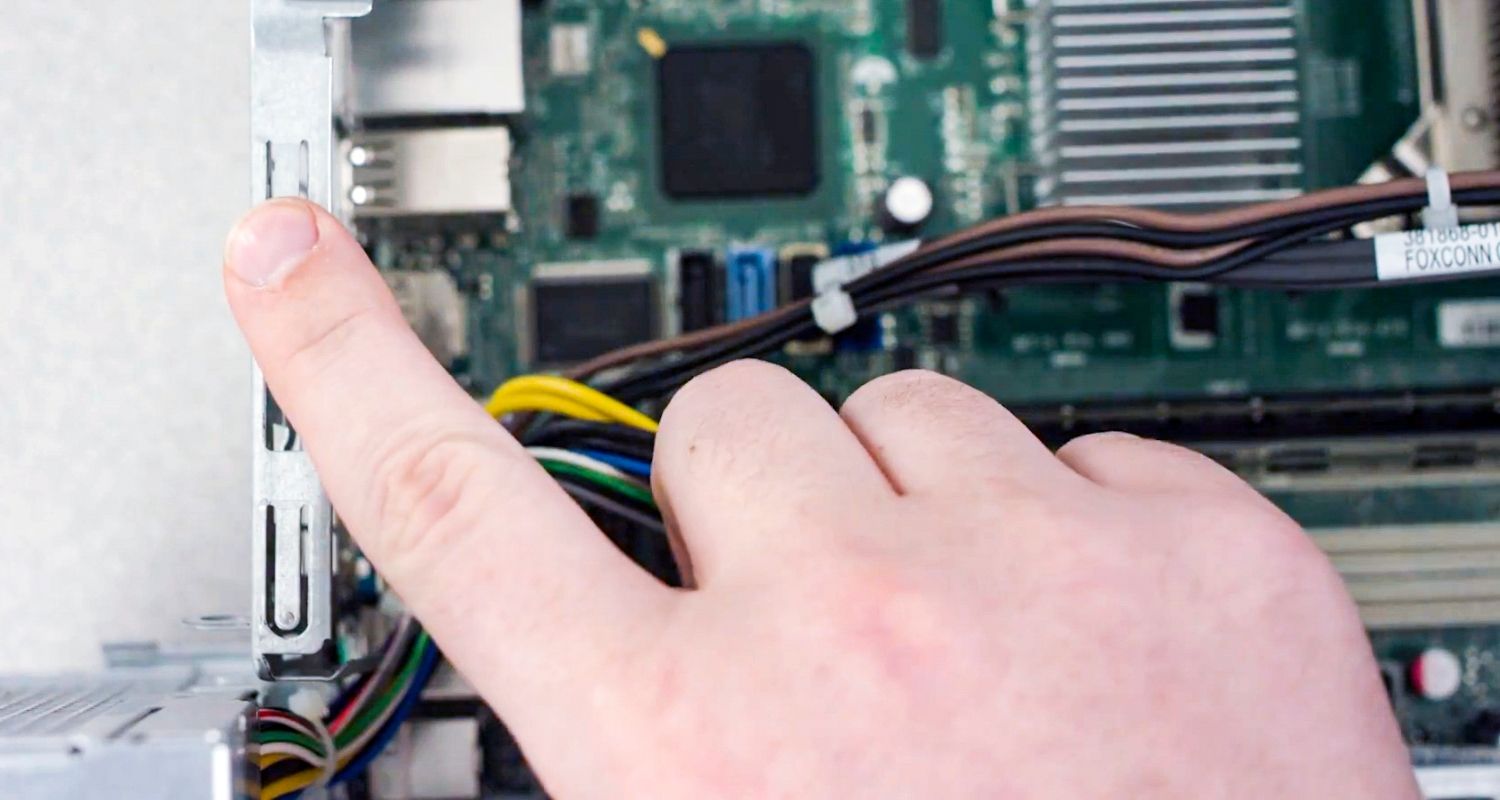
6. Ground yourself
Touch an unpainted metal surface – this is an extra safeguard that protects your computer memory and components from static damage during the installation process.
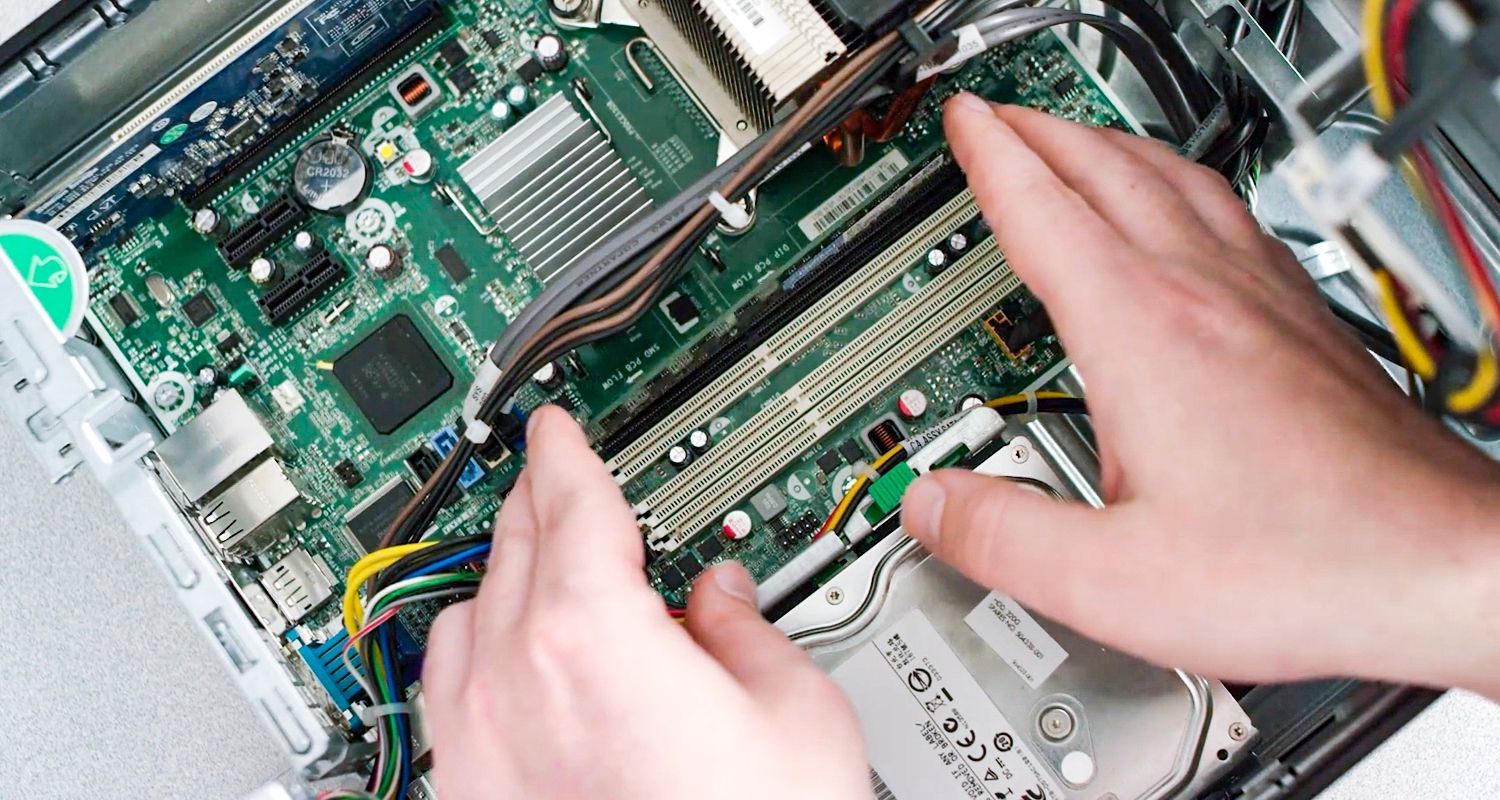
7. Remove existing memory modules
Press down on the clips on the sides of each module, the clip mechanism will push the memory module up. You can then pull the module completely out.
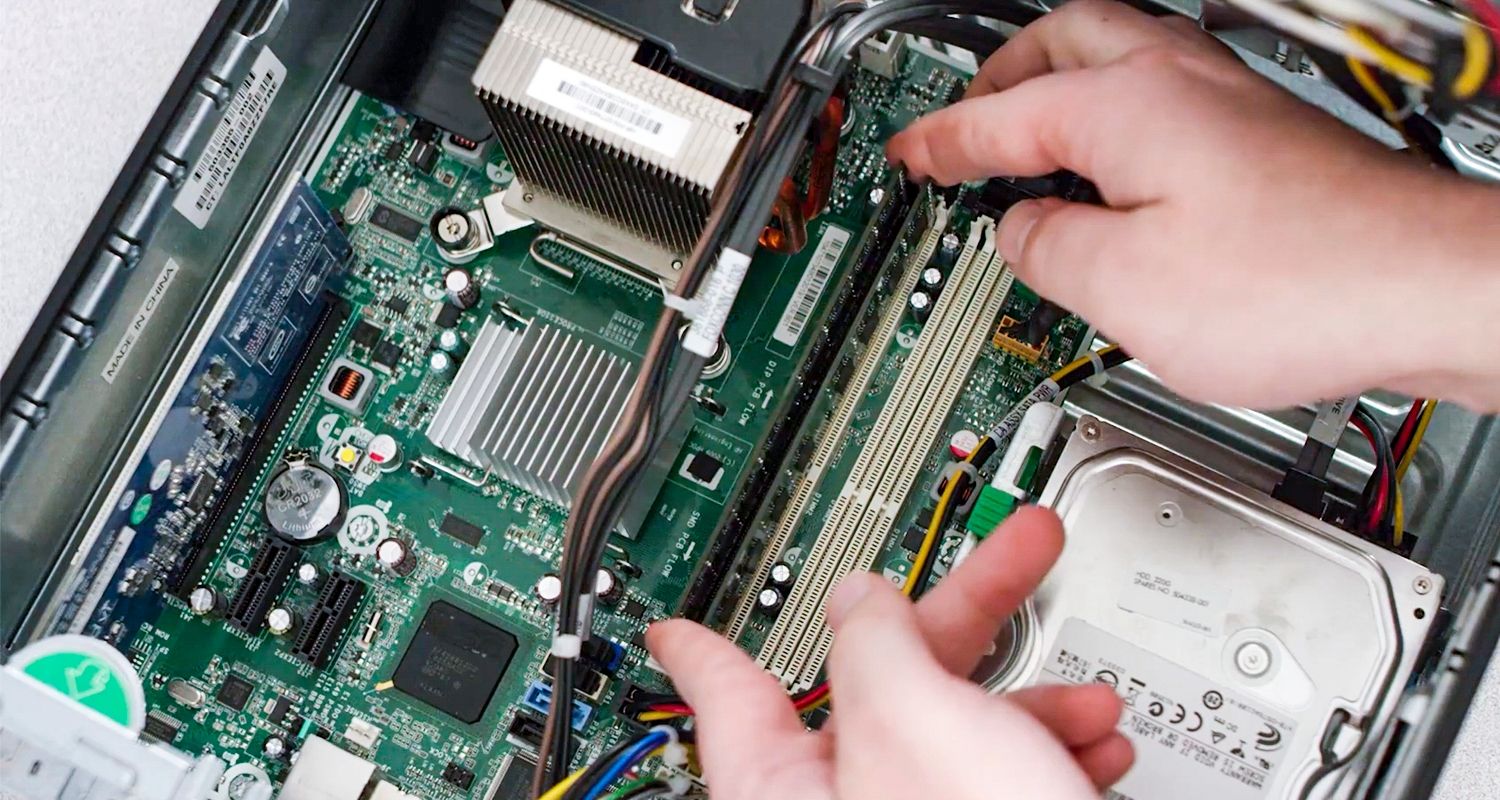
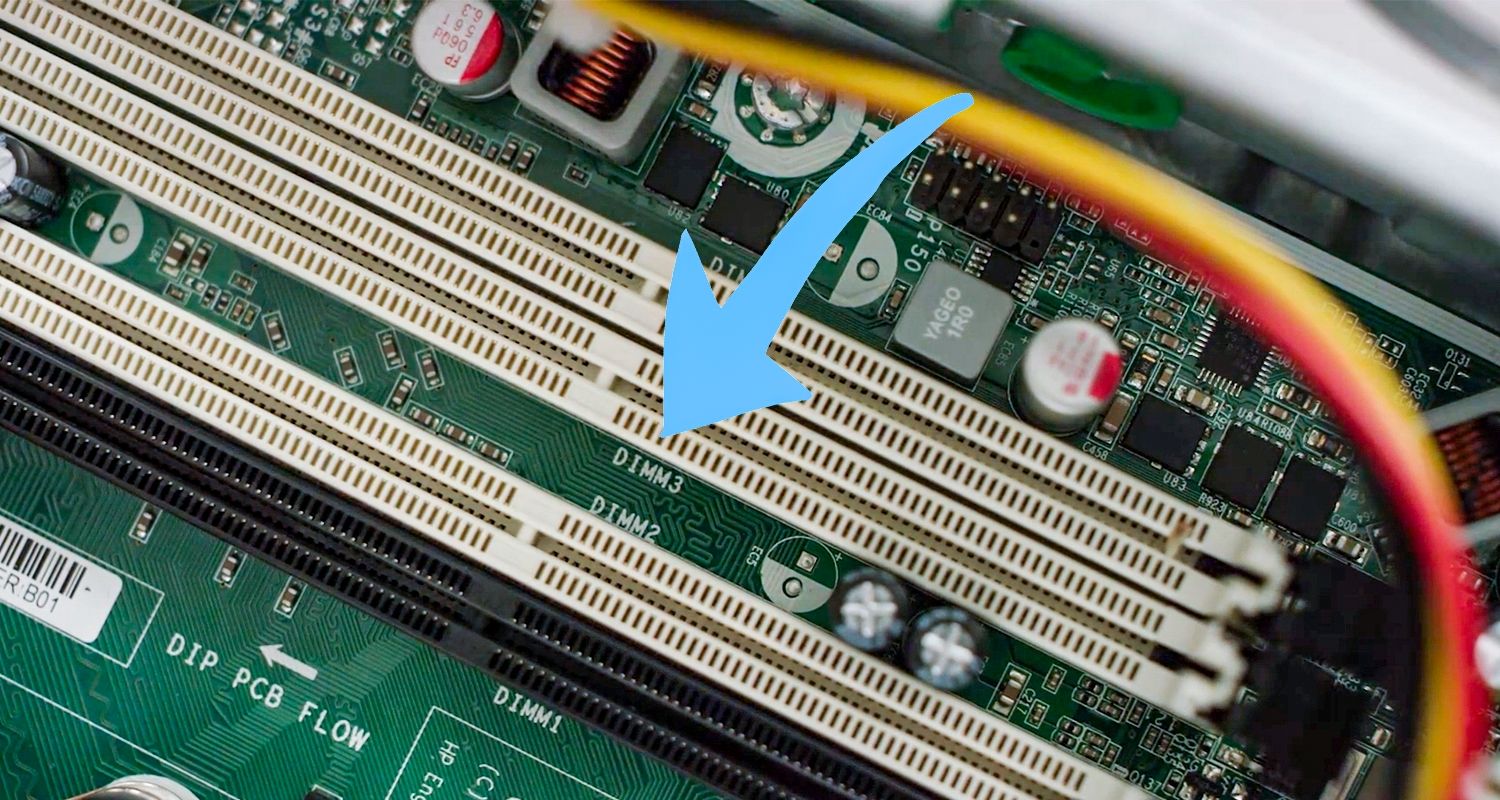
8. Install memory
Holding the modules along the edges, align the notches on the module with the ridge in the slot, then apply even pressure and firmly press the module in. It usually takes about 30 pounds of pressure to fully install the module.
Note: Some desktops require you to install modules in matched pairs (memory banks). If this is the case, the slots will likely be labelled for how the memory should be installed. If you only have two memory slots, don’t worry about this – proceed with the simple install.
9. Close the computer case
10. Plug the power cable back in
Your memory is now installed!
Boot up and enjoy a more responsive computer that’s now better equipped to run memory-intensive apps.
Helpful hints & installation troubleshooting tips
If your system does not boot up, check the following items:
- If you receive an error message or hear a series of beeps, your system might not be recognizing the new memory modules. Remove and reinstall the modules. Push down hard on the modules until the clips fold back up.
- If your system won't boot, check all the connections inside your computer. It is easy to bump a cable and pull it out of its connector, which will disable devices such as your hard drive or CD-ROM.
- When restarting your system, you might get a message prompting you to update the configuration settings. Refer to your owner's manual for information. If you are still unsure, please call Crucial Technical Support for assistance.
- If you get a memory mismatch message, follow the prompts to enter the Setup menu, and then select Save and Exit. (This is not an error—some systems must do this to update the system settings).
- If the groove on the memory module and the ridge in the computer do not match up, do not force the module into the slot. You might have the wrong type of memory.
- Your system recognizes only half of the new module's memory. To make sure the computer is registering the memory you’ve added, follow these steps:
- Click on the Start menu or Windows button
- Right-click on Computer or My Computer
- Select Properties
- You will see the Installed Memory (RAM) listed. It should match the amount you installed.
- If you encounter problems after checking these helpful tips, please contact Crucial Technical Support.
Enjoy your new memory!
©2017 Micron Technology, Inc. All rights reserved. Information, products, and/or specifications are subject to change without notice. Neither Crucial nor Micron Technology, Inc. is responsible for omissions or errors in typography or photography. Micron, the Micron logo, Crucial and the Crucial logo are trademarks or registered trademarks of Micron Technology, Inc. All other trademarks and service marks are the property of their respective owners.